How to Fix a Water Damaged iPhone and Recover Data
Dropped your iPhone into water and it won’t turn on? Before water damages your iPhone or its major components, follow the guide on how to repair water damaged iPhone and recover photos, video and other files from the liquid damaged iPhone that won’t turn on.
Can You Fix an iPhone with Water Damage?
iPhone water damage is a very common repair case. Things might happen, and your favorite iPhone might find itself in water. What to do if you dropped your iPhone in a sink, a bowl, or forgot to take it out of your pocket and jumped into a pool? Even of your wet iPhone seems dead, there’s still a good chance it can be rescued as long as you act right and fast. You may follow a few solutions to save your iPhone from being water damaged.
Dropped iPhone in Water? What Things You Need to do:
1. Slide to Power off your iPhone
Immediately turn off your iPhone as soon as you take it out of the water. As it takes some time for water to ingress when you accidentally drop your iPhone into the toilet or swimming pools. Even it’s tempting, but resist the urge to power up your phone to see if it works–just turning it on can short out the circuits.

2. Wipe the Water from the Outside of the iPhone
Dry off the iPhone with a microfiber or other soft, absorbent cloth to wipe away any water on the outside of your iPhone. But do NOT use a hair-dryer, nor place the iPhone in an oven as the excess heat will damage the iPhone beyond repair.
3. Remove the SIM Card
One of the first things you should do when your iPhone has been exposed to water is to remove its SIM card. This serves the dual purpose of helping to save the SIM card itself and allowing air to enter your iPhone. Take the assistance of a paperclip or the authentic SIM card removal clip that must come with your phone.
If you have a fan, you can try blowing cool air directly into the lightning port or SIM card slot to increase airflow. But don’t use a hair dryer-its heat and fry your phone’s insides. Instead, opt for a can of compressor air to push moisture out through the same channels it entered.

4. Place Your iPhone On a Flat Location
Next, lay your iPhone face down on a flat surface, like a table or a kitchen counter. Don’t put your it in a container or a bag.
Tilting your iPhone or placing it in a bag with rice will almost certainly cause the water to spill onto other internal components. That could be the difference between life and death for your iPhone.
5. Dry Out Your Wet iPhone with Dessiccants
You have to make sure your phone is completely dry, not only outside, but also inside. There is no certain way to make sure that the inside part is dried up. The only way is to leave it in a dry area.
If you can access to commercial desiccants, set them on top of and around your iPhone. They can be found in tiny little packets that are shipped with items such as vitamins, electronics, and clothes. However, whatever you do, don’t use rice! Rice absorbs water more slowly than natural drying. A study shows that after 48 hours, only 13% of the water can be absorbed by putting the cell phone in the rice.

We recommend waiting 24 hours before trying to turn your iPhone back on. Apple says to wait at least five hours. The more time, the better. We want to give any water inside your iPhone enough time to begin to evaporate.
6. Try Turning On your iPhone
After 24 hours or 36 hours of drying out your wet iPhone, remove the desiccant and attempt to turn it on. If no permanent damage was caused by the water, then the phone should power up and start normally.
Check Water Damaged iPhone Indicator
The Liquid Contact Indicator (LCI) is the best way to check for iPhone water damage conditions. On newer iPhones, the LCI is located in the same slot as the SIM card. On older models of the iPhone (4s and earlier), you’ll find LCIs in the headphone jack, charging port, or both.
You can check if your iPhone has water damage by looking for special indicators on the device.
- Open the SIM tray of your iPhone.
- Shine a light into the SIM slot. You can use a flashlight or just hold the phone up to a desk lamp.
- Look for a red liquid contact indicator. If the iPhone has contacted a liquid near your SIM tray, you’ll see a red indicator in the center of the tray opening.
- Check the headphone jack on older iPhones.
| Model | LCI Location |
| iPhone XS / XS Max | SIM Card Slot |
| iPhone XR | SIM Card Slot |
| iPhone 8 / 8 Plus | SIM Card Slot |
| iPhone 7 / 7 Plus | SIM Card Slot |
| iPhone 6s / 6s Plus | SIM Card Slot |
| iPhone 6 / 6 Plus | SIM Card Slot |
| iPhone 5s / 5c | SIM Card Slot |
| iPhone SE | SIM Card Slot |
| iPhone 5 | SIM Card Slot |
| iPhone 4s | Headphone Jack & Charging Port |
| iPhone 4 | Headphone Jack & Charging Port |
| iPhone 3GS | Headphone Jack & Charging Port |
| iPhone 3G | Headphone Jack & Charging Port |


Back Up Your iPhone, If You Can
If your iPhone turns on, back it up right away using iCloud or iTunes. Water damage can sometimes spread, and you may only have a small window of opportunity to save your photos, videos and other personal data.
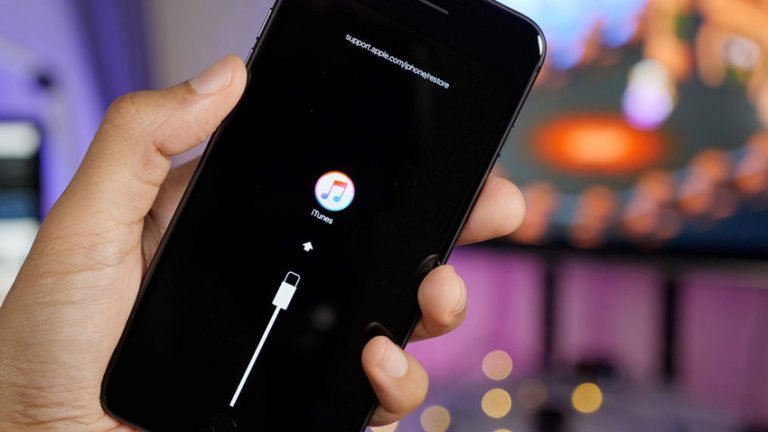
Backup data from iPhone with iTunes:

Backup your iPhone data with iCloud: Go to Settings > iCloud > iCloud Backup.

Or you can directly use a 3rd-party iOS Backup & Restore tool, see details Backup iPhone Content to Computer.
Recover Data from Water Damaged iPhone
Usually, when an iPhone is water damaged, you would take it to the repair shop. They would usually restore it to normal but will not retrieve your lost data. Being calm and rational, the highest priority must be recovering your data. The good news in all of this is that you do not need to take valuable time to go to the repair shop, you can almost certainly achieve what you want without leaving home via Dr.Fone – Recover (iOS). We are here to help.
iPhone Data Recovery
- The best solution to recover data from water damaged iPhone
- Scan your iPhone, iPad, or iPod touch to retrieve deleted or lost photos, video, contacts, messages, notes, etc.
- Extract content from iCloud/iTunes backup file, preview, selectively restore what you want.
- Compatible with latest iPhone XS (Max)/XR, iPhone X, iPhone 8 (Plus).

Method 1. Directly Scan and Recover Data from Water Damaged iPhone
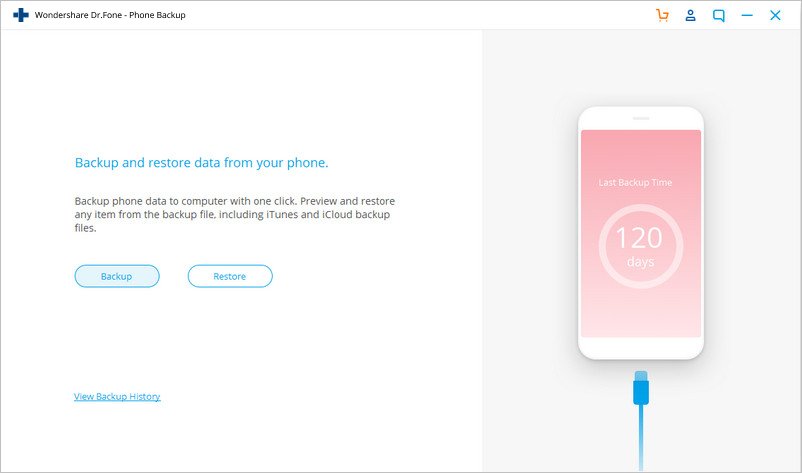
Download this water-damaged iPhone data recovery software on your computer. After launching it, attach your iPhone, and select ‘Recover’ from the toolkit.

Your iPhone will be recognized and shown on the primary window, check the items you want, and click on “Start Scan” to begin scanning.

When the scan process completes, preview, check and select the items you wish to recover. Tick the checkbox before all the items you want and click ‘Recover’ to save the iPhone data to your computer.

Method 2. Recover Water-Damaged Data from iTunes Backup
Switch to “Recover from iTunes Backup File” once you opened iOS Recover.
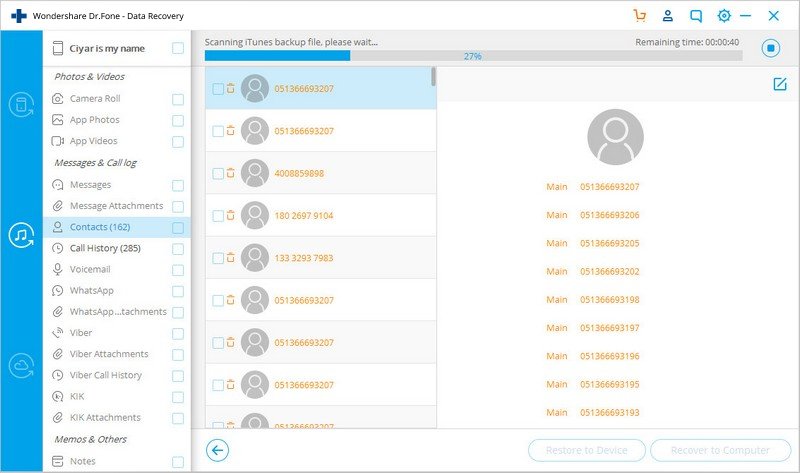
You can then find the program lists the iTunes backup files. Choose the most relevant one. Click “Start Scan” to begin extracting all your data from the iTunes backup.

When the iTunes data is extracted, all contents in the backup file are displayed item by item. Preview, select, and click on the ‘Recover’ button to in the lower-right corner to save them on your computer. Maybe it hasn’t been such a disaster, and you can recover data from water damaged iPhone.
Method 3. Extract iCloud Content and Selectively Restore
When you have the recovery tool running on your computer, opt for the recovery mode of “Recover from iCloud Backup File” from the left menu bar. Then sign in iCloud account with your Apple ID.

After logging in your iCloud account, you will see all backup files you’ve made. Choose the one you want according to the size and date.
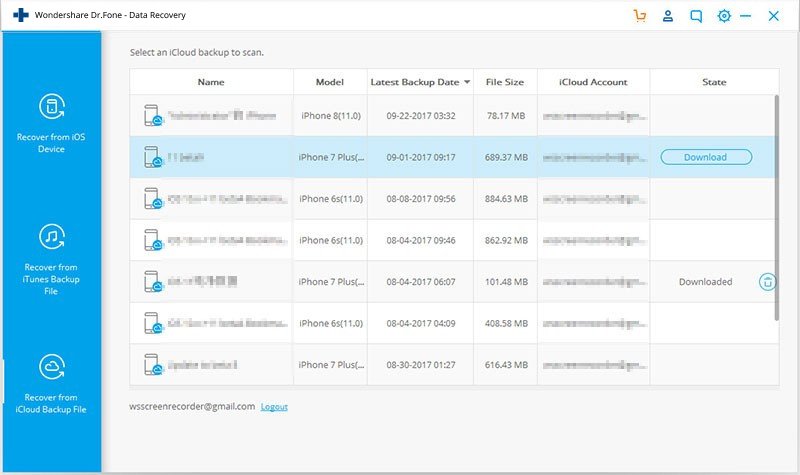
When you have the iCloud backup file downloaded and extracted, you can preview all the data like contacts, photos, messages, notes, and more. Check them all or just select what you want and click “Recover to Computer”. All the data will be recovered to your computer.