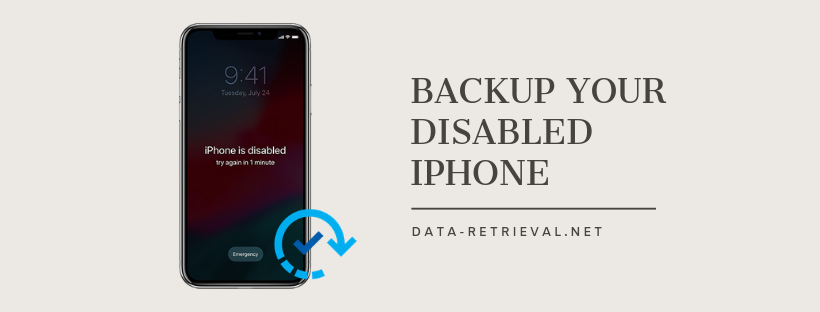
How to Backup Data from a Broken or Disabled iPhone/iPad?
In this article, we’ll discuss how to backup data from a broken or disabled iPhone/iPad. You can back up every bit of your data to your computer, and after unlocking or repairing your iPhone, you can safely restore it to an iPhone or iPad. And you can also export those backup files to a new device. So stay tuned!
Can I Backup Disabled iPhone?
My phone is disabled and I haven’t backed it up in 2 months, it just got disabled like 2 days ago and I was wondering if I can back up while it’s disabled before I restore it?
The fact is that you do have the chance to backup data on your disabled or broken iPhone. However, the possible rate is not 100%. If you never synced your device with iTunes, and your device is not trusted by any of your computers, I think it seems that you’ll lose all of the pictures or files on your device. Whatever, in this article, we’ll talk about the possibility that deserves your trial.
How to Backup Disabled iPhone or Broken iPhone with iTunes?
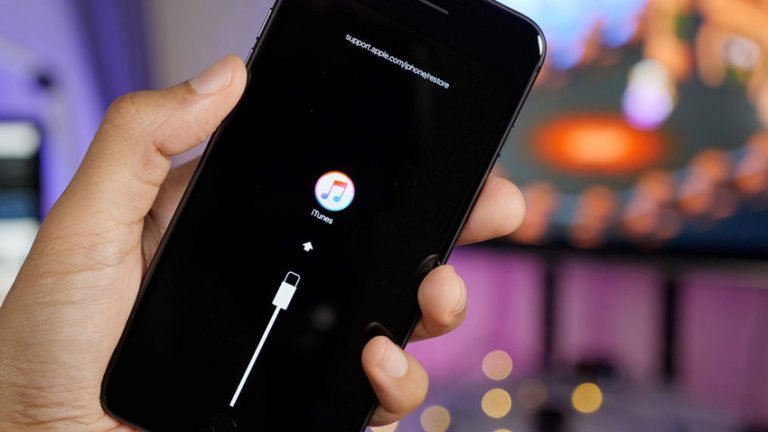
In case you have synced your iPhone with iTunes before it has been broken or locked, iTunes could remember the password and won’t ask for a passcode. In this kind, you can backup your disabled or broken iPhone with iTunes.
1. Open iTunes on your computer.
2. Connect your locked or broken iPhone with the computer via using the USB cable.
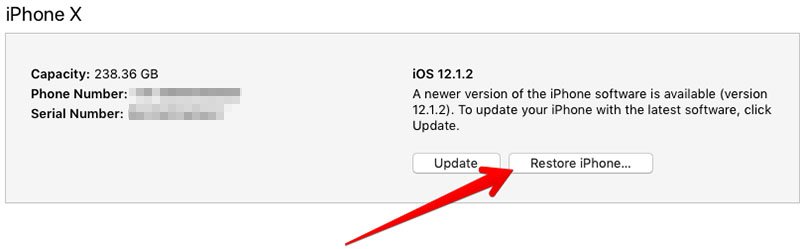
3. Click “Summary” on the left side of the window, and click “Back Up Now“.

4. Wait until the backup process completed. Then click on Restore iPhone.
Essential Conditions:
You should have synced your iPhone with iTunes at least once. Furthermore, you haven’t restarted your iPhone after you connect it to iTunes in the last time. If you did, you’ll receive the “Trust” request that you can not do on your locked or broken device.
“Find my iPhone” needs to be turned off from the Settings app on your iPhone. In case it is enabled, iTunes will ask you to disable it before restoring, which again you cannot do as you are locked out.
If iTunes proceeds with a problem-free backup and restore, your iPhone will be erased and restored as a new device. Just in case, iTunes throws errors up, try using Recovery Mode or iOS Unlock to factory reset disabled iPhone without passcode and iTunes.
Extract locked iPhone data from iCloud backup
If you have turned on iCloud backup before, iCloud will automatically backup your iPhone device information daily over Wi-Fi when your device is turned on, locked, and connected to a power source. In this case, you can use extract photos, contacts, messages, notes, reminders, and more files from iCloud backup, by using the third-party dr.fone – iOS Recover. With it, you can extract, preview, and selectively restore whatever data you want from iCloud backup file to your iPhone device.

iPhone Data Recovery
- Directly retrieve data from iPhone, iPad, iPod touch.
- Download and extract data from iCloud/iTunes backup.
- Preview and restore selected files to the device, or save on computer.
- Read-only and risk-free.
How to Extract Content from iCloud backup?
1. Download the software from the above download link, install and launch it on your PC/Mac.
2. After selecting the “Recover” function from all the tools, click on “Recovery from iCloud Backup File” option and sign in to iCloud.

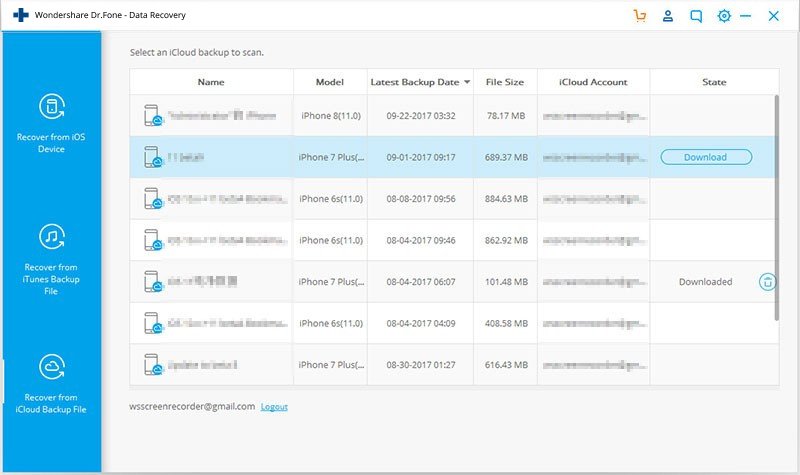
3. When you login your iCloud account, you can see the backup files in the interface. Select the most relevant one you want and download the iCloud backup file by clicking on “Download” button.
4. After the downloading process, choose the type of files you want and click “Next” to continue with iCloud data extracting.

5. The program will instantly start scanning and extracting data in your iCloud backup file. When the process completes, you can preview and select any files like photos, videos, contacts, messages, notes, reminder, etc., and backup them to your computer or restore to iPhone device.

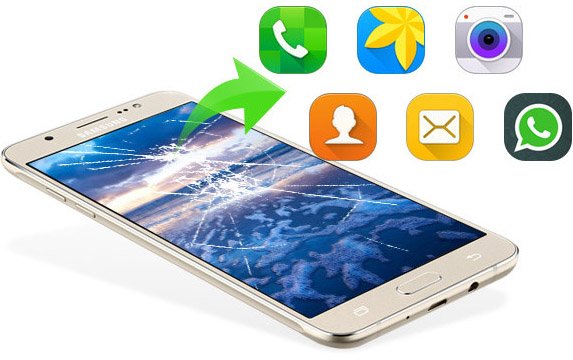
Backup Broken or Disabled iPhone Data with iOS Backup & Restore
iOS Backup & Restore is a powerful dr.fone tool that enables you to directly back up your iPhone/iPad to your computer, and restore any item from the backup to iOS/Android devices. What’s more, it can also extract content from iCloud/iTunes backup files and perform selective restoring.

iOS Backup & Restore
- Selectively backup and restore locked iPhone data in 3 minutes.
- Save your iPhone/iPad data from the backup to PC/Mac.
- Selectively restore your iPhone/iPad from dr.fone backup, iTunes/iCloud backup, with previewing.
- iTunes/iCloud alternative software, more smart and more controllable.
Steps to Backup Data from a Broken or Disabled iPhone/iPad with iOS Backup & Restore:
1. Launch dr.fone after downloading, select “Backup & Restore” to open iOS Backup Restore.
Then connect your locked iPhone/iPad to your computer.

Note: The computer should be trusted before the disabled or broken state. If your broken or locked iPhone is not trusted by any of your computer, I think you cannot proceed backup and restore.
2. Click Backup button, and select the type of data to backup and start the backup process.

3. The data backing up of your locked iPhone will instantly start. Please keep connecting during the process.

Now, you have all of the data in your iCloud backup on your computer. Then you can factory reset your iPhone/iPad to fix your locked, disabled, or broken iPhone back to normal. After that, your can restore all of the data back to your normal iPhone or just the new another iOS or Android device.
Please Note:
As I said at the beginning, the success rate is not 100%. If you have never synced or backed up your iPhone to your computer, and the device is disabled, I’m afraid that you’ll lose your information on the device. Anyway, 3rd-party backup tools, iTunes, and your computer cannot recognize a disabled device if it has never been connected.
Prevention is more important than treatment: Backup content on iPhone or iPad regularly could be your lifesaver.