Backup iPhone Content to Computer
iPhone Syncing On A New Computer?
Hello! I recently purchased a new computer and finally got around to downloading iTunes today. I want to sync my music (I know it will delete everything not purchased in the iTunes store) but I don’t want to erase my numbers, texts, ect. When I go to sync my phone, will iTunes delete EVERYTHING I have in it?
Auto-sync with a new computer will erase iPhone contents those not purchased from the iTunes store. iTunes blocks this function since iTunes is the tool with one way to transfer files from iTunes to iPhone. You must utilize other tools for syncing iPhone on a new PC/Mac.
Sometimes, the content on the iPhone will lose, including many of the music and video that one like.

So we need some new, better tools than iTunes to make a backup to our own computers.
iOS Backup & Restore recently updated with the new feature to backup all iPhone content to the computer depends on your demands, e.g Photos & Videos, Messages & Call Logs, Contacts, Memos, and other data. What’s more, you can directly export and print iPhone/iPad/iPod data on the computer, and even selectively restore the backup data to the iOS device at will.
You can have a look of below steps to get the detail process, hope it useful.
How to backup iPhone content to Computer?
STEP 1. Connect iPhone to Computer
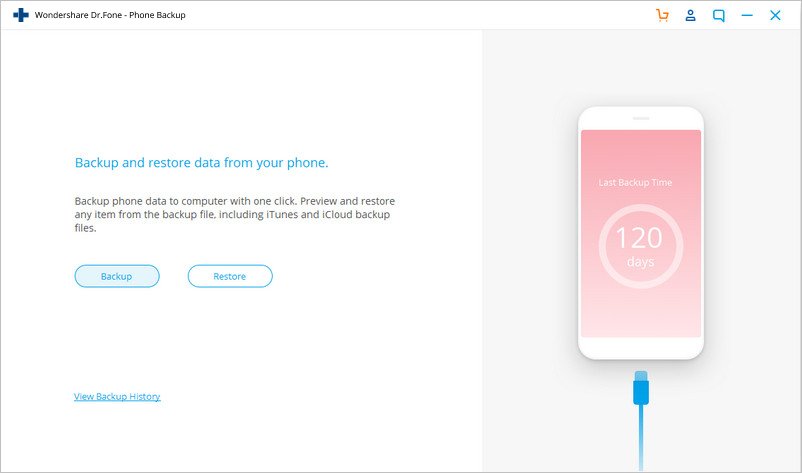
When you have iOS Backup & Restore downloaded, double click the file on the desktop to launch it. Then you’ll get the program interface as below. Click on the “Phone Backup” option from the functions list.

Then connect your iPhone, iPad, or iPod touch to the computer via the USB cable. The program will automatically detect your device as soon as possible.
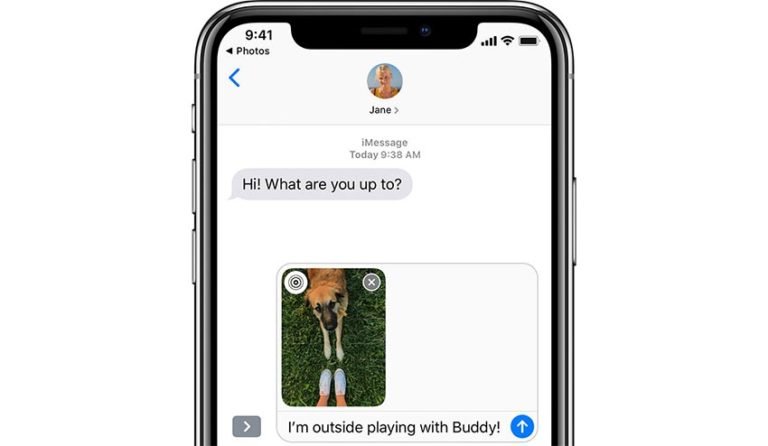
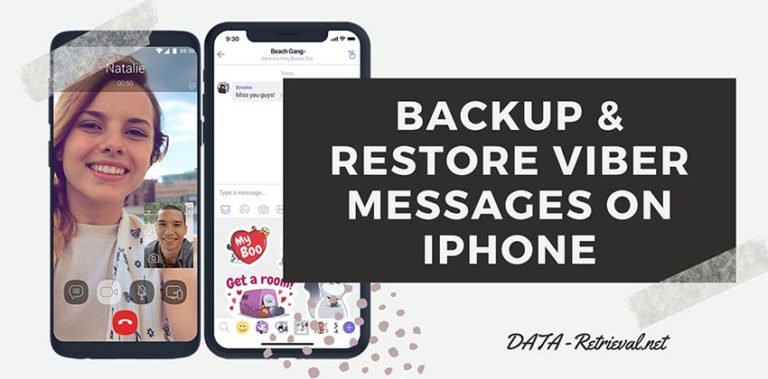
For iPhone users, you can backup any items on your device, such as Contacts, Notes, Messages, Photos, videos, music, Safari bookmarks, Call History, Calendar, Voicememo, along with WhatsApp, Line, Viber, Kik such social App data.
Tip: If you have used dr.fone to backup your device before, you can view the previous backup file list by clicking on To view the previous backup file>>.
STEP 2. Choose Content on your iPhone to Backup
dr.fone iOS Backup and Restore will automatically detect the file types on your iPhone once it is connected successfully. You can choose the file types you want to copy and click on Backup.

The whole backup process will take a few minutes, depending on the data storage on your device. Then the program will display all the supported data, like Photos & Videos, Messages & Call Logs, Contacts, Memos and other data.

STEP 3. Backup Files to Computer or Print out
Select the files you need to backup by checking the box before them, then click Export to PC button and choose a local folder as save location to backup iPhone content to computer.
You can also print the selected content out by clicking print icon on the top.

STEP 4. Restore Backed up File to Device
With this iOS Backup and Restore software, you can directly restore text content you’ve backed up from computer back to iPhone, iPad or iPod touch, such as Text Messages, iMessage, Contacts and Notes. Just select the files you need, click Recover to Device to restore the files to your iOS device.