How to Recover Permanently Deleted Photos from Mac
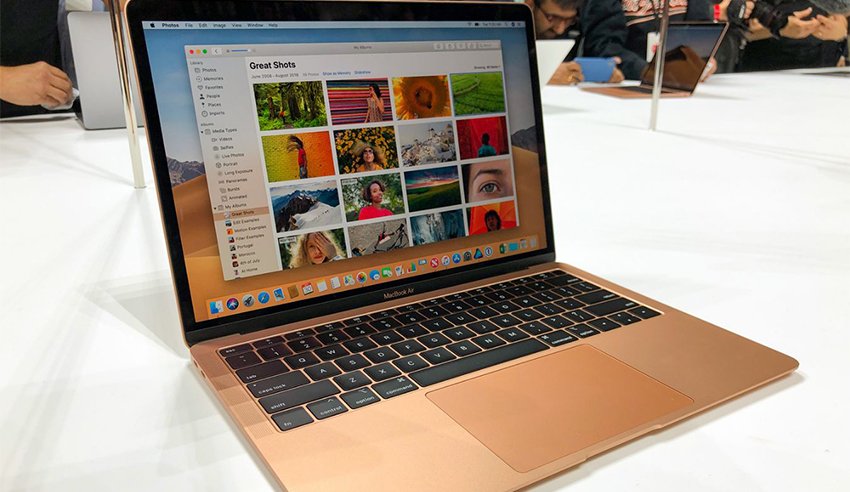
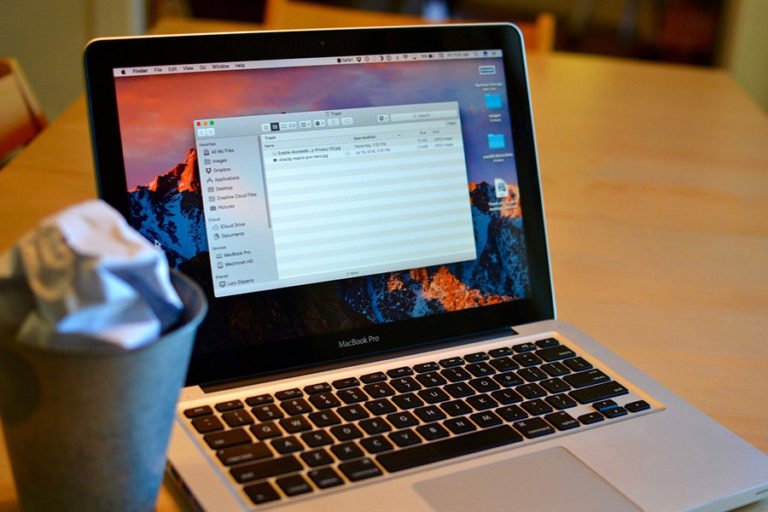
Accidentally deleted precious photos from the Photos app and emptied the trash on Mac? Lost pictures by Photos Library corruption or unexpected Mac machine shutdown? Losing photos and files in macOS can be a real pain. Thankfully, your deleted Photos Library pictures can be retrieved by using a Photo recovery utility.
I permanently deleted photos from Macbook Air, how to get back?
Hi, friends! I accidentally deleted some photos from Photos of my Mac (I even performed “Empty Trash” too) yesterday. Is it possible to restore only these deleted photos from a Time Machine backup or must I restore the entire iPhoto Library? The problem is that, after performing the backup, I added another picture to iPhoto (and I haven’t made a backup of them yet). If I have to restore the entire library, will this procedure replace my existing library and remove the recently added pictures?
iMac, Mac OS X (10.13)
Mac Data Recovery is such a file recovery program that has the ability to recover deleted pictures in the Photos app for macOS as well as perform Mac trash deleted picture recovery. No matter how photos lost from your Photos Library, you can get them back in a few clicks with this tool.
To get started, download the trial version from the link below.
How to get back pictures you deleted from Photos Library?
Step 1. Launch Photos pictures recovery on your Mac
When you have the Mac data recovery downloaded, just install and launch it on your Mac. You should select a location to scan. This can be any drive or partition on your system from where you have lost your data.

If you know the exact file path of your lost images, you can also choose “Select Folder” under the “Select location” tab.

Disable “System Integrity Protection” first for macOS High Sierra
Due to macOS High Sierra (macOS 10.13) requirement, Mac users are not allowed access to the built-in system drive from any apps. Therefore, if you need to restore lost data from the system disk under macOS 10.13, please “disable System Integrity Protection” first.

- Reboot your Mac and hold down “Command + R” keys simultaneously after you hear the startup chime, this will boot OS X into Recovery Mode.
- When the “OS X Utilities” screen appears, pull down the “Utilities” menu at the top of the screen instead, and choose “Terminal”.
- In the “Terminal” window, type in “csrutil disable” and press “Enter” then restart your Mac.
Step 2. Scan your Mac for deleted photos on your Mac
Once you pick a disk drive or location, click on the “Start” button for the application to look for any unavailable or deleted content on your Mac. It will take a few seconds to complete the scanning.

Step 3. Preview and recover deleted pictures from Mac
After the scan, you can preview all the found photos in the scan result window, select the photos you want and restore them on your Mac by clicking the “Recover” button.


