Undelete Files in Trash Mac
Recover files after emptying trash Mac:
How do I retrieve files deleted from my trash?
I accidentally deleted all my music, thinking they were duplicates, then emptied my trash. I know it says it can’t be undone, but is there ANY WAY I can get my music back.
MacBook Pro

Is it possible to retrieve data deleted in trash?
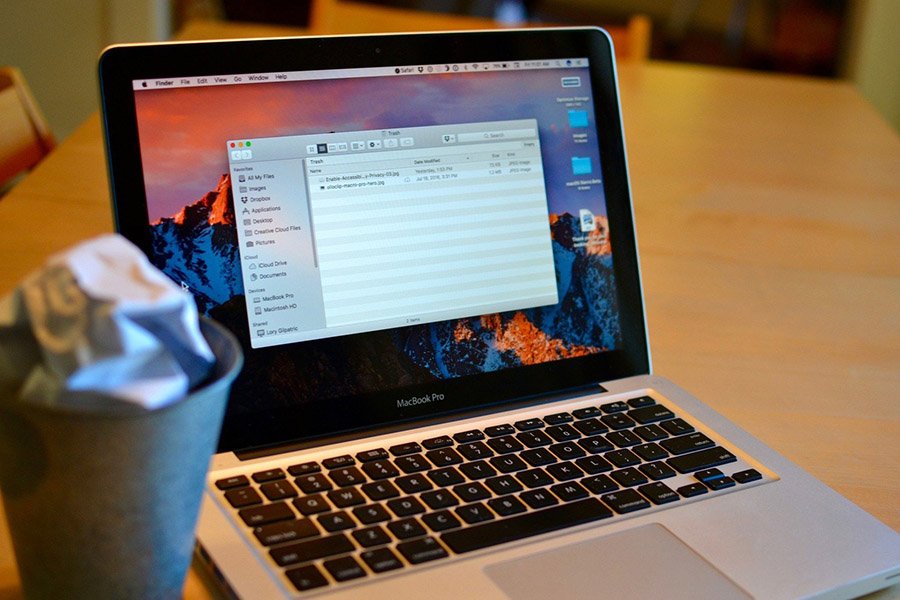
If you simply put files in the trash you can restore them by dragging the files from the Trash to your Desktop. If you empty the Trash then the files are gone. You can’t do it with any command or utility that comes with Mac OS X. But recovery is still possible as long as new files are not written over the space that was used by the old files. You must stop using the drive and try a third-party data recovery tool to recover the files emptied from Trash Mac. There are several of them, such as Disk Drill by cleverfiles, MacKeeper or Data Rescue II. If you’re not professional about that, I recommend Recoverit – Mac Data Recovery by Wondershare. With a friendly interface, it empowers you to retrieve deleted or inaccessible pictures, documents, multimedia files from MacBook Pro, iMac, as well as iPod, USB drives, digital camera, mobile phones, and other storage media.
Can’t wait to restore deleted files in your Mac trash? Download the free trial for a try.
How to Undelete files in Trash Mac?
Step 1. Install and run Mac Data Recovery
Once have the Mac Data Recovery software downloaded, it’s easy to launch it on your Mac desktop. You’ll get the primary interface as below.
Note: Never install it on the disk where you lost your data, in case you overwrite it.
Step 2. Choose “Trash Recovery” Mode
It’s time to select the location. To recover deleted files from emptied trash bin on Mac, select “Trash” under the “Select location” tab.

Step 3. Scan the location of Trash in Mac
If you have more than one drives on your Mac, select the logical drive where you deleted your files. Then click on “Scan” to search your deleted files.

Step 4. Preview & retrieve deleted files in Trash Mac
When the scan process completes, all files you deleted are listed in the scan results, with their original path like Library, desktop, or Trash, etc. The files you emptied from Trash in “Trash” folder.
Check the files and preview them one by one to find the files you want to get back. Then click “Recover” button to undelete the files in Trash of your Mac.
Note: What you should keep in mind in the recovery step: don’t save the recovered files in the same place where you lost them, in case you overwrite them. If you don’t find all the files, the deleted files will be overwritten for your new files’ storage.

That’s it! You now know how to perform partition recovery for Mac OS X. Why not download the free Disk Drill Basic today and give it a try?

Recoverit – Mac Data Recovery
- Recover photos, videos, documents, and emails from any storage media.
- Support to recover data on macOS system including High Sierra 10.13.
- Recover from different file systems including APFS, HFS+, HFS X, NTFS, FAT/exFAT.


